Quickstart
This quickstart guide is aimed at getting you started with ORY Sites. Please be aware that ORY Sites is in an early stage and that you might encounter issues. Feel free to contact us at [email protected] or to use the feedback tool we integrated in the app.
Your ORY Sites account
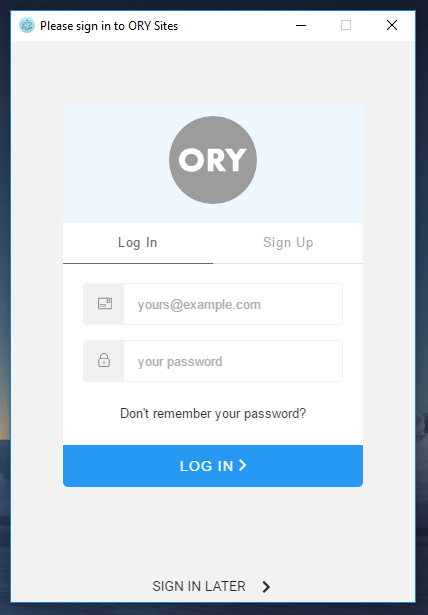
We currently provide two themes. You can test both, but to export our second theme, you need to have a registered account at ORY Sites. Account registration is completely free. At a later stage, we will offer additional premium features.
You can continue with or without signing in.
Create a project
Upon login or skipping the previous step you are shown the welcome screen. Here you can choose to open a project or create a new one.
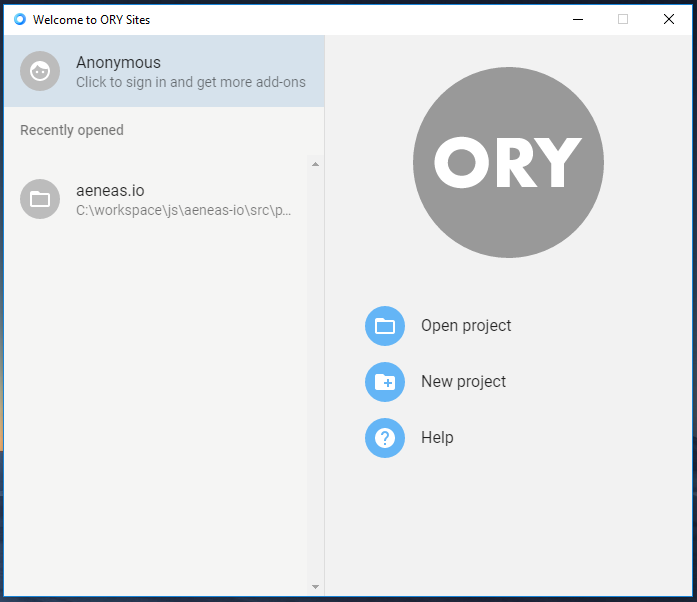
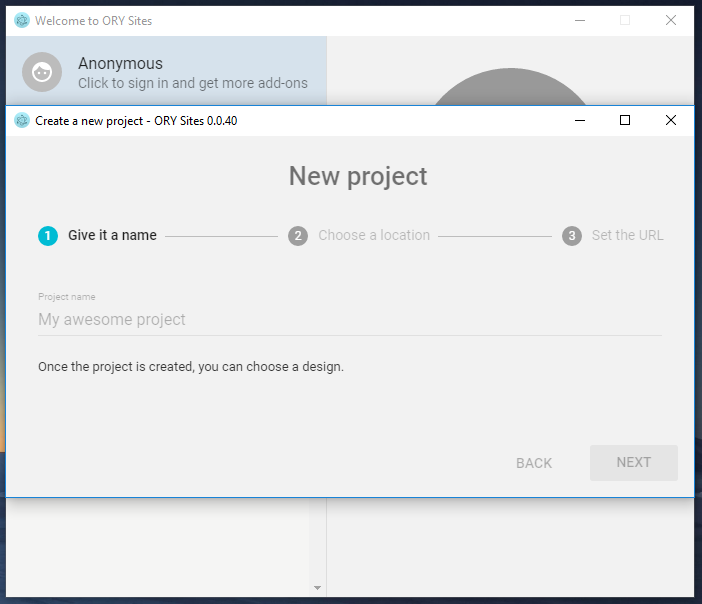
As you have probably not used ORY Sites before, let's create a new project. The setup wizard will guide you through the process.
Project directory structure
The project will be saved in the directory you provided. The structure of the directory is as follows:
dist/: This directory will be set up once you export your project to static HTML, CSS and JavaScript. You can upload the contents of this directory to, for example, your FTP server, AWS S3, Google Cloud Storage or GitHub Pages.pages/: This directory contains the pages you set up in the app. A new project usually has one page, the home page. As you add more pages, more files will appear here.page/<page-id>.json: These are the contents of a page.page/<page-id>.json.<backup-id>.bak: Each time you save, we create a back up of the previous state. You can remove these files if you want to.
public/: Create this directory and place any files in here that you want to have available on your website in here - for example some image stored atpublic/images/mountain.jpg.project.json: This is your project file. When prompted to open a project, please select this file.project.json.<backup-id>.bak: Every time you save the project, we set up a backup of your project - just in case. You can safely remove these files if you like.
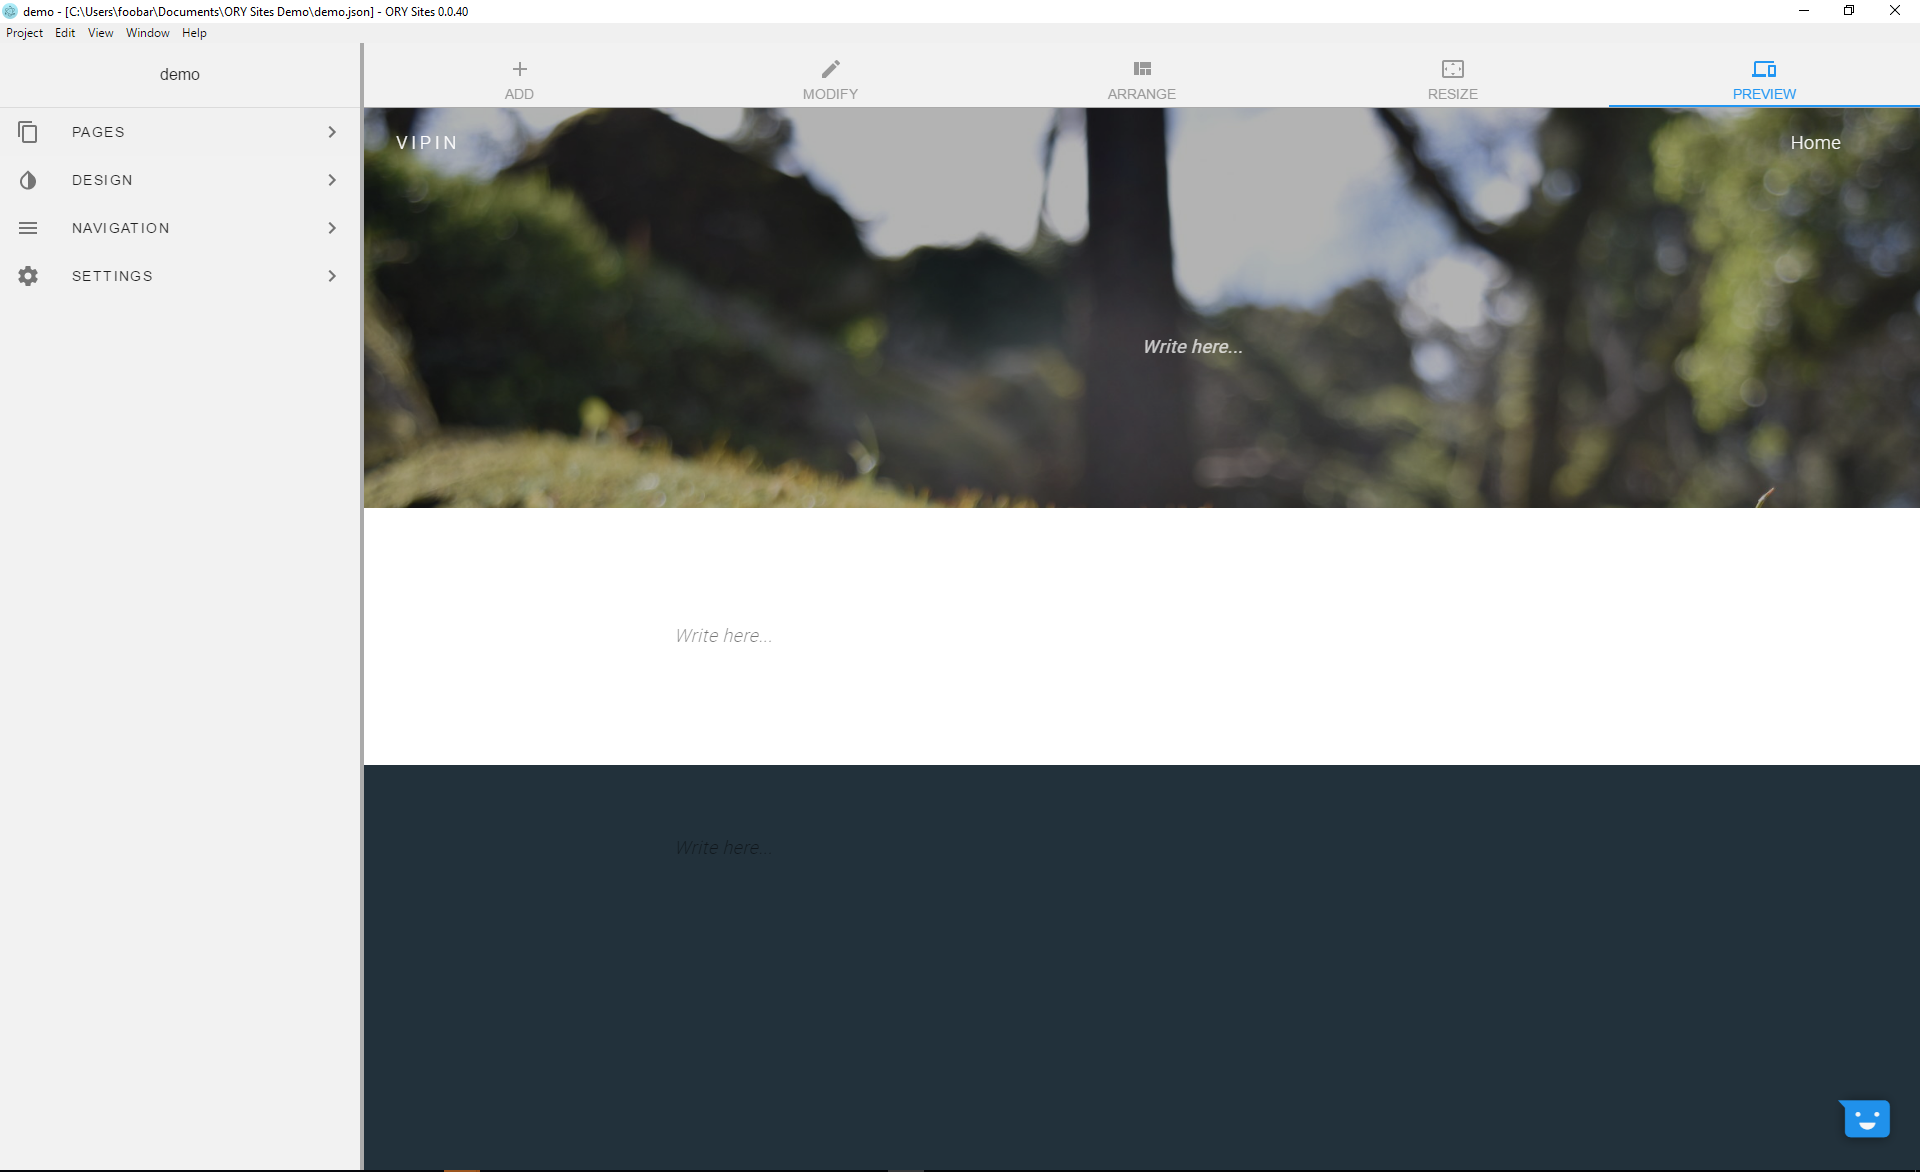
Modify your website
Great, you just created your first project and should be greeted with a screen that looks similar to this one:
Choose a design
The first step is to choose a nice design. At the moment, ORY Sites supports just two designs, but we will be adding more over time. In the future, you can write your own ORY Sites designs or use designs from third parties.
Each design comes with a unique list of settings that you can play with. Here, we are trying out the theme settings of the Callisto design.

However, for this project, we will use the Vipin theme. Let's play around with the header title and the theme color:
Update the home page
Now you know how to use and modify designs. Let's start creating some content! First, select the home page for editing
Modify text
To modify content, such as text, click on "MODIFY" tab and then select the content cell that you want to update.
Add an image
Adding cells is easy, simply click on "ADD" and choose the plugin you need. In the future, we will provide more and better plugins - and allow you to include third-party plugins or even your own ones!
For the example here we used this image
url: https://storage.googleapis.com/ory.am/ory-sites/road-lights.jpg.
To upload an image to your project, place it in the
public directory of the project,
for example in: public/images/my-image.jpg. Then use the following
url to include it: images/my-image.jpg.
Of course, we will improve this process down the line. We are planning an image gallery plugin as well as drag & drop uploads and uploads using a file chooser.
Move the image
You can rearrange cells easily by choosing "ARRANGE" and then draging around the cells.
Resize the image
Delete the image
To remove cells, go into ARRANGE mode and move the element in the trash bin.
Undo changes
You can undo any changes made to the project's content by using ctrl+z or ctrl+y (on OSX this is cmd+z and cmd+y).

Now you know the basics to editing content in ORY Sites! Have fun exploring the various plugins and be sure to leave us any mailto:[email protected], if you like.
Add a second page
Adding new pages is easy. You can modify a page's title, it's design settings and it's URL (folders allowed).
Update the navigation
Cool, let's add your page to the navigation
and also to the footer navigation

Let's also include a submenu with a link to Google.
Save the project
Now it's time to save the project. To do so, press ctrl+s.
Publish your website
To publish your website, you need to export it using the Project -> Export
menu or ctrl+e (cmd+e on OSX).
The output is static HTML, CSS and JavaScript placed in
the dist/ directory.
GitHub Pages is perfect for personal use, and we will show you how to publish your website there.
GitHub Pages
First you need a GitHub account. Then
create a github repository
and upload the files located in the dist directory to it:

Next, publish your site on the master branch and open it in your browser.
By the way, GitHub Pages allows you to set up custom domains.
In the future, we will make this process smoother and allow you to publish your site directly to our servers, avoiding the hassle of setting this up yourself.
By the way, the GitHub repository from the demo is located here.