Developer guide
ORY Sites uses open source technology, and we want ORY Sites to be as extensible as possible. Our top priority therefore is to provide developers with easy ways to extend and customize their site.
We are still working on more extensibility. In the meanwhile here is the guide to what's possible today! Get in touch if you have feedback on this.
Important note: If you customize your project based on this guide, make sure to check back in often and check for breaking changes. We strongly encourage you to sign up for our newsletter and be notified of any breaking changes.
Customizing a project
A project consists of three parts:
- The HTML file
- The design
- The plugins
Currently, only the HTML entry point is customizable.
Customizing the HTML file
The HTML file is the base html file that is used to render your project into. If you want to add analytics, custom css or some javascript, this is the right place.
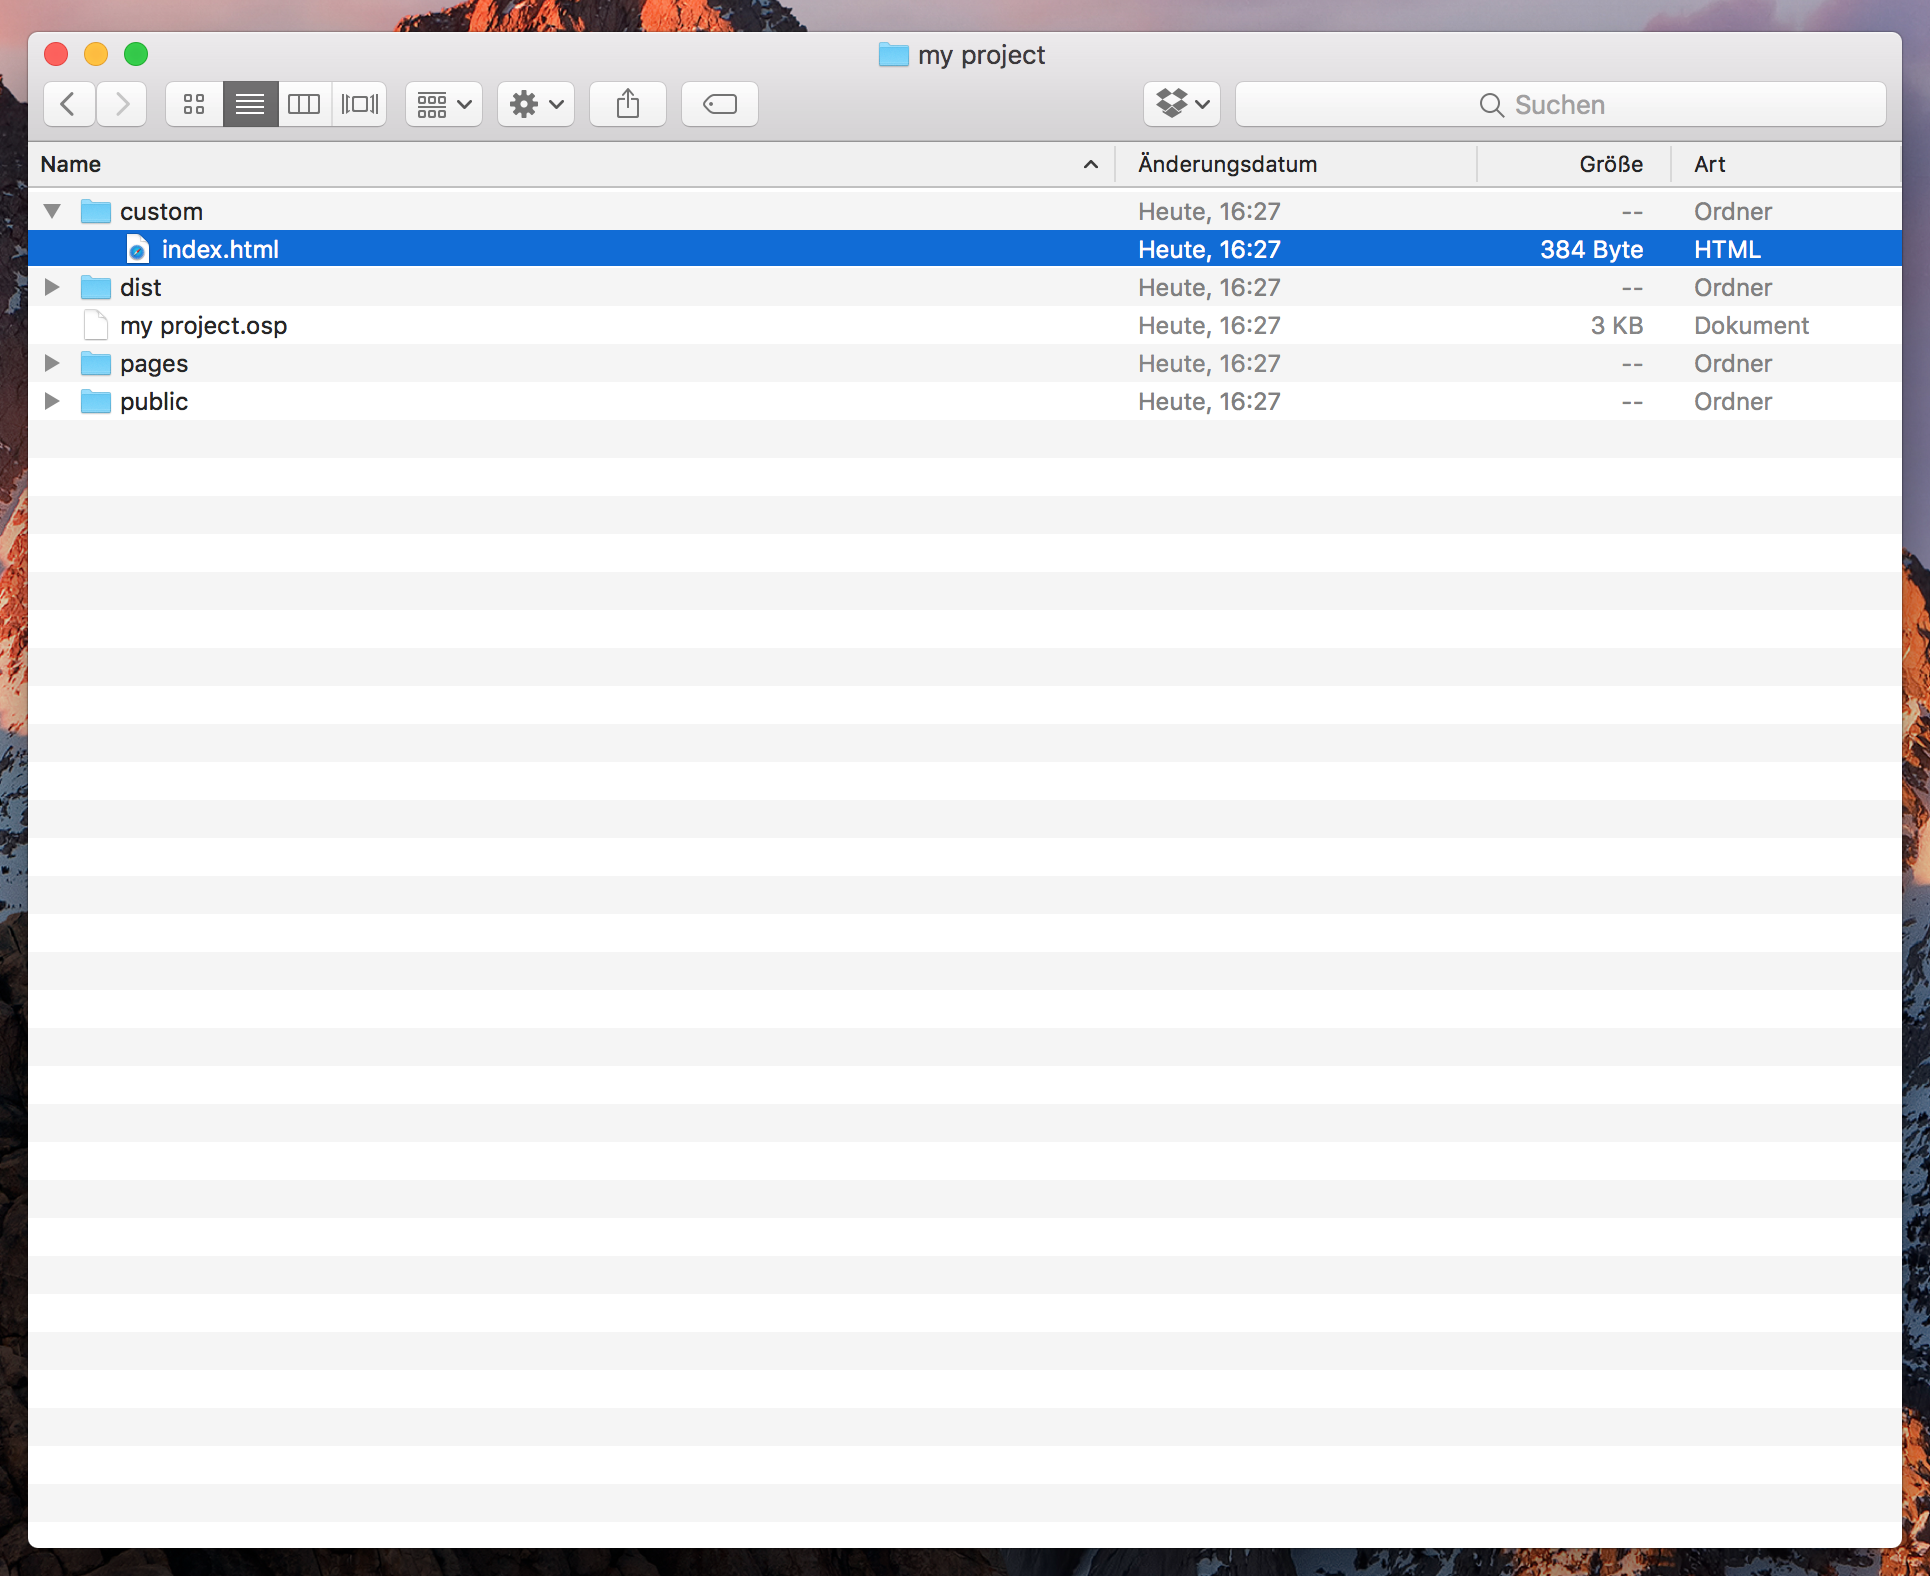
You can customize the HTML file by creating custom/index.html in the project's root directory. Before creating this
file, please close the project.

Once the file is created reopen the project and make changes to it. To see
the changes, press either ctrl+r for reload, or by select a different page via the pages menu.
The default configuration of the index.html file is the following:
<!doctype html>
<html>
<head>
    {{{extra.head}}}
    <title>{{page.title}} - {{project.title}}</title>
    <meta charset="utf-8">
    <meta name="description" content="{{page.meta.description}}">
    <meta name="viewport" content="width=device-width, initial-scale=1">
</head>
<body data-page="{{page.id}}">

<div id="root">
    {{{content}}}
</div>

{{{extra.body}}}

</body>
</html>
We are using handlebars to render the template and inject some things. It is important that extra.body, extra.head
and content are surrounded with three curly braces instead of two, as this disables html escaping. Do not remove
those and <body data-page="{{page.id}}"> or <div id="root"> as those are mandatory for your website to work. Here
is a more in-depth list of things we provide in the template:
const model = {

  // The page being rendered.
  page: {

    // The page id.
    id: string,

    // The page title.
    title: string,

    // Meta data for the page.
    meta: {

      // The meta description for SEO.
      description: string
    }
  },

  // The project which will be rendered.
  project: {

    // The project id.
    id: string,

    // The project title.
    title: string
  },

  content: string

  // Extra data which is required to properly render the website in the ORY Sites App.
  extra: {

    // Data which is required to be in the body.
    body: string,

    // Data which is required to be in the head.
    head: string
  }
}
You can make changes to the page title (e.g. <title>bar // {{page.title}} - foo - {{project.title}}</title>) and
to the meta tags, although we encourage you to not change <meta name="description" content="{{page.meta.description}}">
as this might break your SEO.
Now that you know the basics, let's look at an example:
<!doctype html>
<html>
<head>
    {{{extra.head}}}
    <title>{{page.title}} - {{project.title}}</title>
    <meta charset="utf-8">
    <meta name="description" content="{{page.meta.description}}">
    <meta name="viewport" content="width=device-width, initial-scale=1">
</head>
<body data-page="{{page.id}}">

<div class="some-class">
  <div id="root">
    {{{content}}}
  </div>
</div>

{{{extra.body}}}

<script type="text/javascript">
    setTimeout(() => alert('Welcome to my website!'), 2000) // show alert box 2 seconds after load
</script>

</body>
</html>
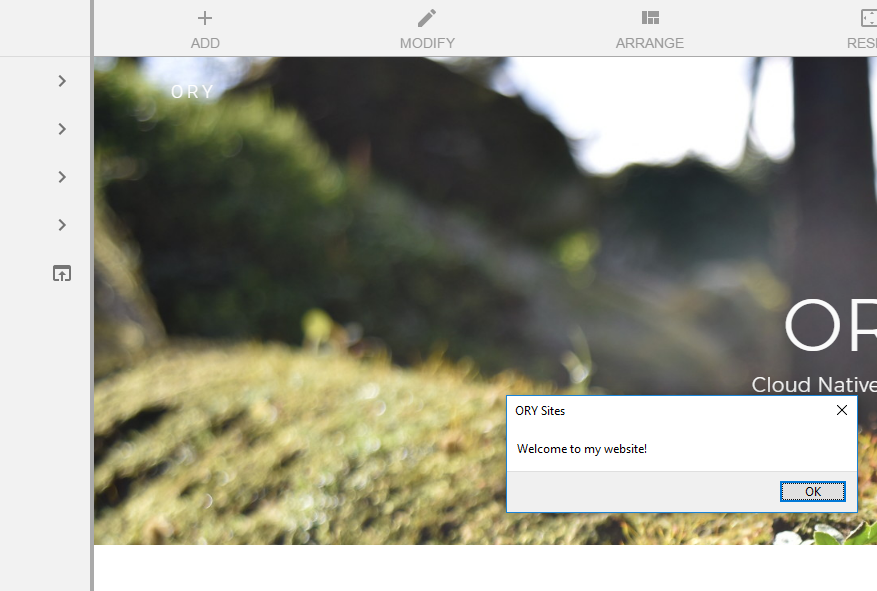
This wraps your main content in div.some-class and also adds an alert box when the page is loaded. Once the app is
reloaded, you should see something like this:

Changelog
No breaking changes yet.